Install X11 on MacOS X; and, using gtk+
On MacOS X, XQuartz enables you to use the X11 window system.
1. Install XQuartz application
Here we provide two ways to install XQuartz application. You could either install from official website or install with Homebrew. In general, we recommend you to use Homebrew to install and manage packages on MacOS X.
- Download and install directly from XQuartz.
- Install with Homebrew. There are two steps:
1. Homebrew Cask is an extension of Homebrew. It installs GUI applications under the framework of Homebrew. Install Homebrew Cask with command
brew tap caskroom/cask. 2. Install XQuartz with commandbrew cask install xquartz.
2. Validate X11 installation on your Mac
Open XQuartz application from the launchpad on your Mac to see if it is installed correctly.
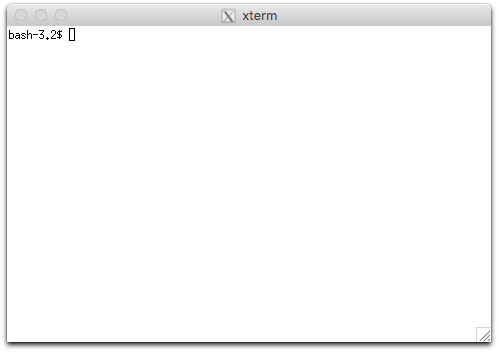
It will open an xterm window.
If that does not work immediately, try restarting your computer.

3. Validate X11 connection to remote server
Next, try running an X11 application on one of the CS50 Unix servers.
Log into a CS50 Unix server and launch an X11 application, such as xclock or xemacs.
For a little fun, try xeyes.
ssh -X username@flume.cs.dartmouth.edu
xpdf
The -X option to ssh sets up X11 forwarding for ssh connections.
That is, it sets up a secure tunnel between the program (like xclock) running on the server and the XQuartz application on your Mac; the program can create windows, buttons, menus, etc.; all the information flows through the ssh tunnel to XQuartz, which renders the windows on your Mac.
It works with all CS50 Unix servers.
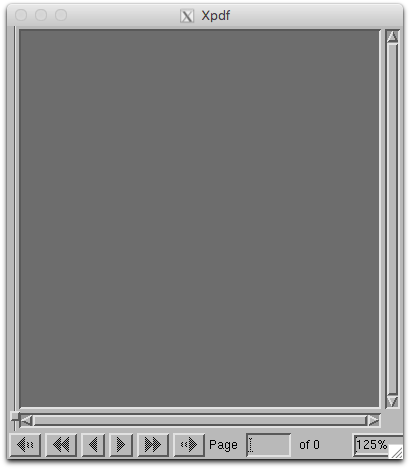
xpdf will open a pdf viewer in X windows system on your local computer.
Here’s an xpdf window.

Note
A warning may show up saying $Home/.Xauthority does not exist if it is your first time to use X11.
The Xauthority file will be configured automatically at the first run.
From then on, the warning should not appear.
Reference
Your first GTK+ application
If you need a GUI (graphical user interface), we recommend the gtk+ library, which is a popular UI toolkit for the X11 window system.
There are two versions of gtk+ libraries: gtk+-2(version 2) and gtk+-3(version 3).
gtk+-2 is still alive but we recommend the latest version, gtk+-3.
Both versions are ready to use on our CS50 Unix servers, so you need to specify the version to work with at compile time.
The gtk-example.c example program, below, uses gtk+-3.
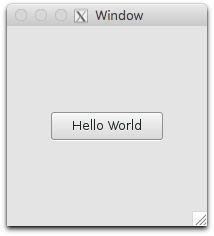
It opens a window with a simple button, as shown below the code.
Feel free to use!
/*
 * filename: gtk-example.c
 * source: https://developer.gnome.org/gtk3/stable/gtk-getting-started.html
 */
#include <gtk/gtk.h>

static void print_hello (GtkWidget *widget,  gpointer   data) {
    g_print ("Hello World\n");
}

static void activate (GtkApplication *app, gpointer user_data) {
    GtkWidget *window;
    GtkWidget *button;
    GtkWidget *button_box;

    window = gtk_application_window_new (app);
    gtk_window_set_title (GTK_WINDOW (window), "Window");
    gtk_window_set_default_size (GTK_WINDOW (window), 200, 200);

    button_box = gtk_button_box_new (GTK_ORIENTATION_HORIZONTAL);
    gtk_container_add (GTK_CONTAINER (window), button_box);

    button = gtk_button_new_with_label ("Hello World");
    g_signal_connect (button, "clicked", G_CALLBACK (print_hello), NULL);
    g_signal_connect_swapped (button, "clicked", G_CALLBACK (gtk_widget_destroy), window);
    gtk_container_add (GTK_CONTAINER (button_box), button);

    gtk_widget_show_all (window);
}

int main (int argc, char **argv) {
    GtkApplication *app;
    int status;

    app = gtk_application_new ("org.gtk.example", G_APPLICATION_FLAGS_NONE);
    g_signal_connect (app, "activate", G_CALLBACK (activate), NULL);
    status = g_application_run (G_APPLICATION (app), argc, argv);
    g_object_unref (app);

    return status;
}

Compiling with gtk+
Use the following command to compile gtk-example.c:
gcc `pkg-config --cflags gtk+-3.0` -o gtk-example gtk-example.c `pkg-config --libs gtk+-3.0`
pkg-config --cflags gtk+-3.0 will produce a list of header paths you might use in your application and pkg-config --libs gtk+-3.0 will produce a list of library paths.
(Notice the use of back-ticks for bash command substitution.) A more detailed explanation can be found in references below, which include a well-written tutorial.
Reference